After finishing their power line projects, Power Path software users can print or publish them in .pdf format.
Follow this step-by-step tutorial to learn how to publish your project in .pdf format:
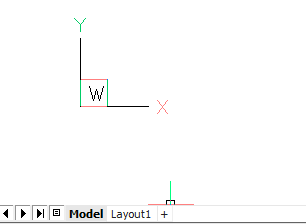
Switch from Model to Layout1.
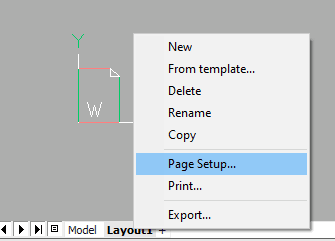
Right click on the Layout1 tab and choose Page Setup…
Page Setup dialog will open.
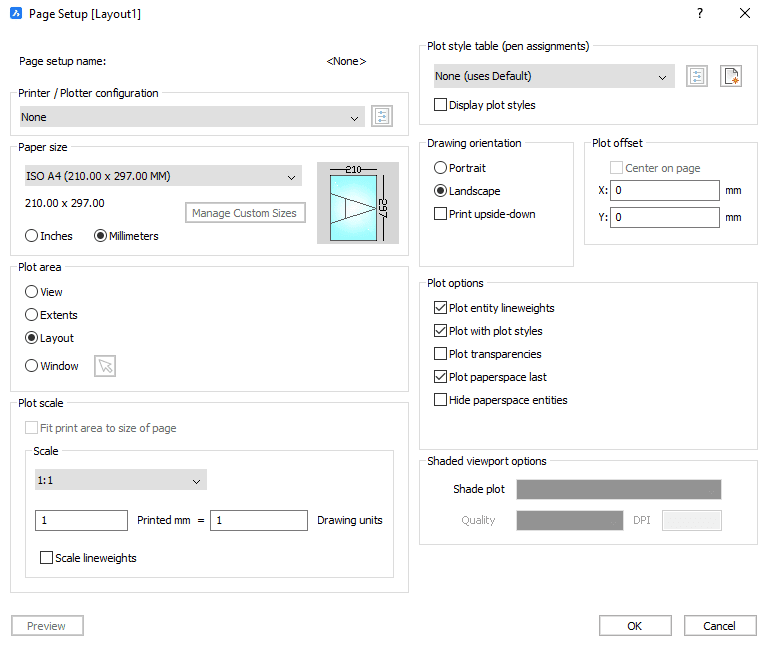
You can define Printer configuration, Paper size, Plot area, Plot scale, Plot style table, Drawing orientation, Plot offset and Plot options.
In this case, we have choosed as paper size ISO A1 (594.00×841,00 MM) and checked milimeters option below.
Note: If you use paper size in inches – inches option below should be checked.
For plot area we choosed Layout and for drawing orientation we choosed Landscape.
In the next step we will design our frame. You can design any type of frame that you want using lines, rectangles, circles, text, tables, and other 2D objects.
Viewports must be inserted on Layout. We used the option – create viewport from objects.
First, we drown 3 rectangles that will represent our 3 viewports.
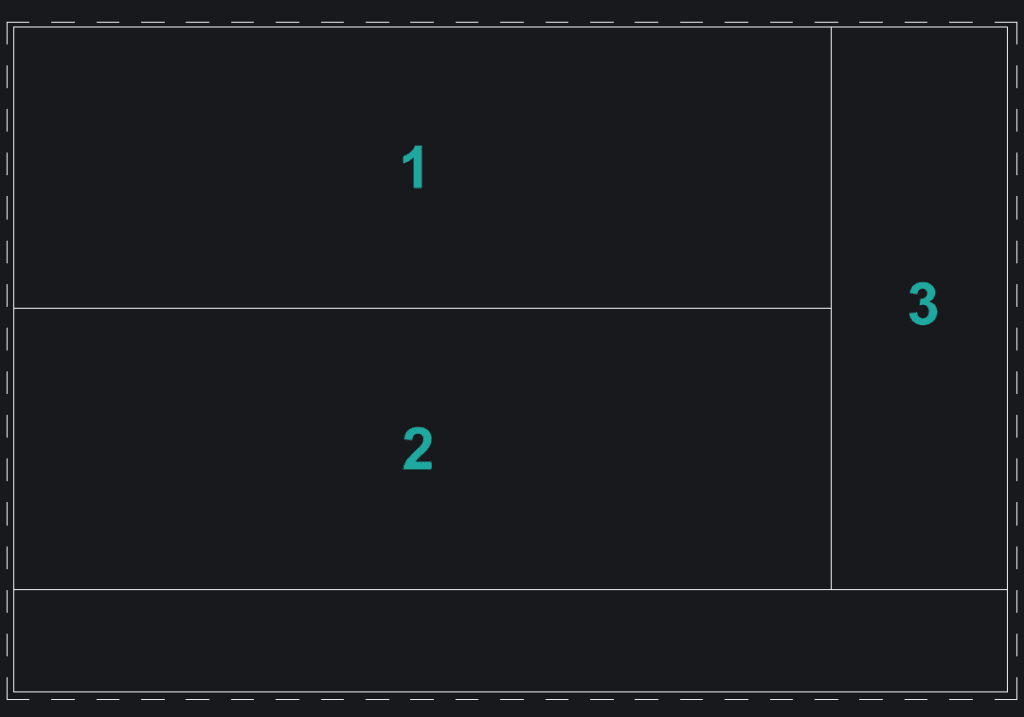
Then we converted those rectangles to viewports.
In the tab View, you have to click on the command Viewports and choose in command line option Object, and then choose one of the rectangles. They will convert into viewports.


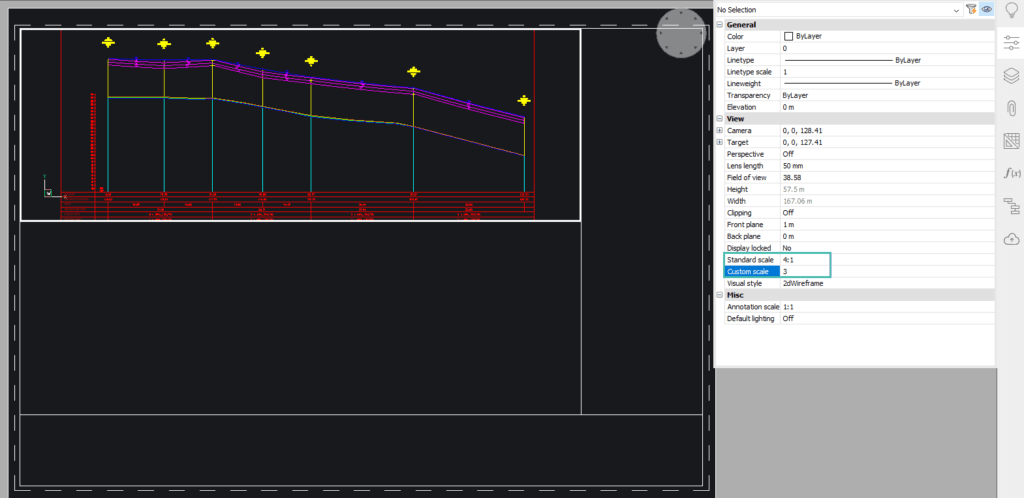
In order to display a certain part of the power line project in the viewports, we need to double click on the viewport and set the specific view (alignment, profile, 3D model…) for export in .pdf format. Scale of the viewports can also be defined. You can use one of the standard scales or type your custom scale.
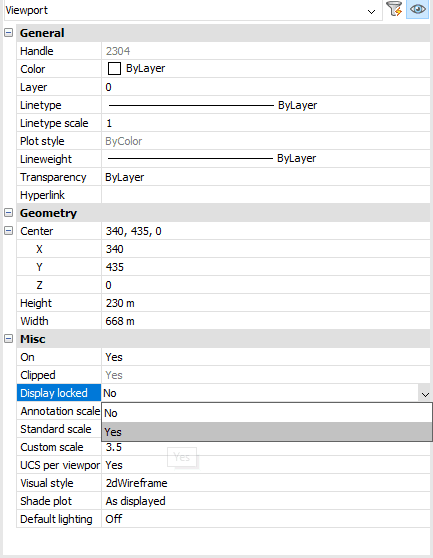
Tip: When you are finished with setting up your specific views, you can lock them. Select the viewport and open Properties panel. In the section Misc, change Display locked from No to Yes.
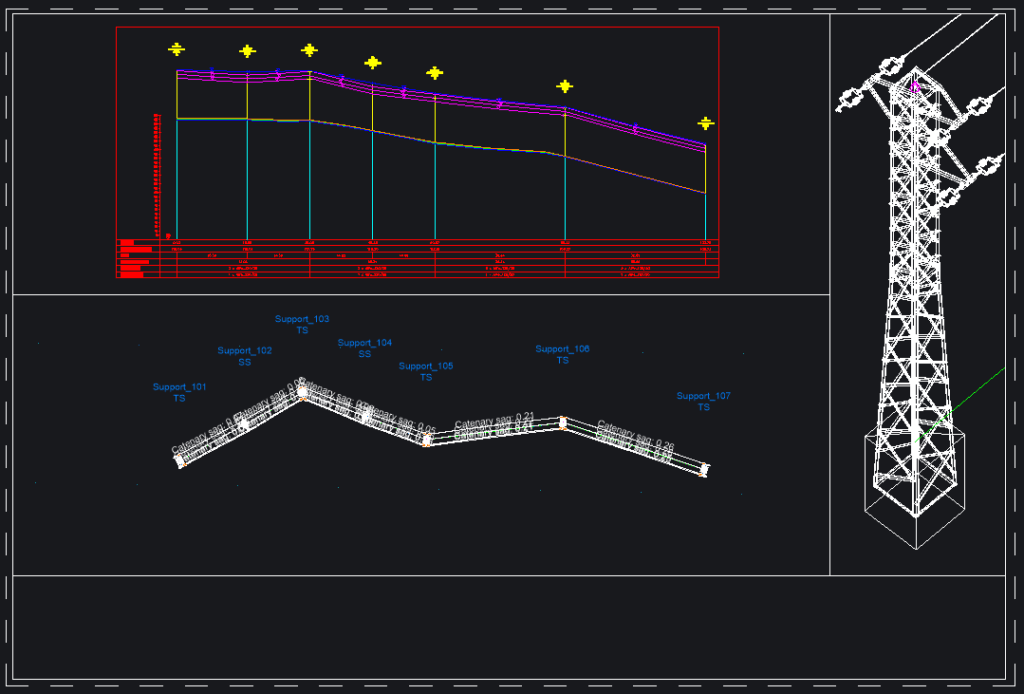
Specific views are set up:
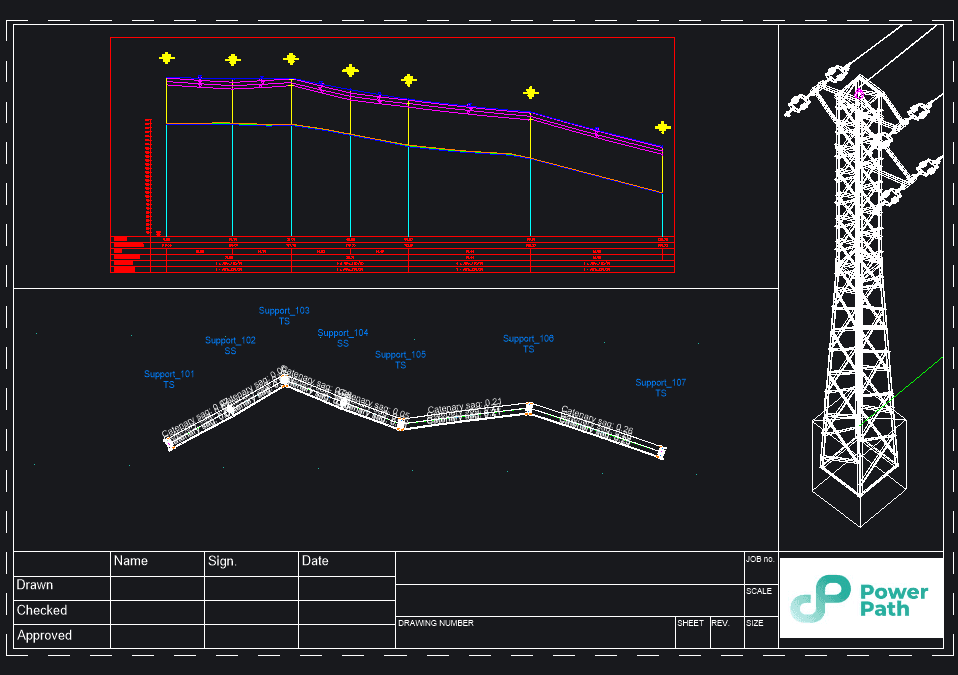
In the next step, we created tables with text. You can use Lines, Text, Tables… Click on the tab Annotate to explore your options.


We also added a raster image to your Layout. In the tab Insert you can find command Attach Raster Image. Click on than icon and choose you image from your computer.

Layout now looks like this:
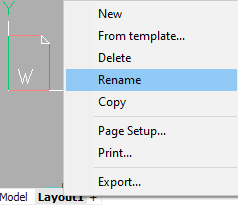
If you want to change the name of your layout, you can do so by right clicking on the layout and choosing option Rename. A Rename Layout dialog will appear, and you just need to type in a new name.


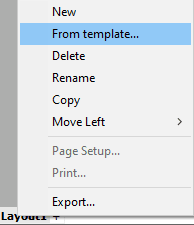
If you already have previously created template for layout, you can import them by right clicking on the layout and choosing option From template…
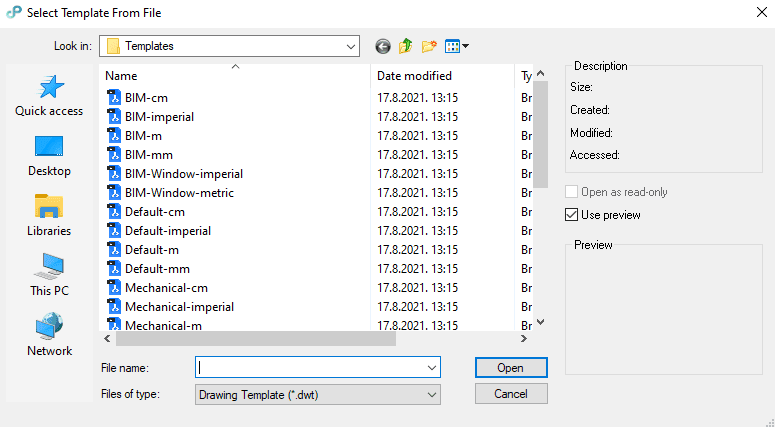
Select Template From File dialog will appear. You just need to find and select your template from your computer.
Now, we can publish our project in .pdf format.
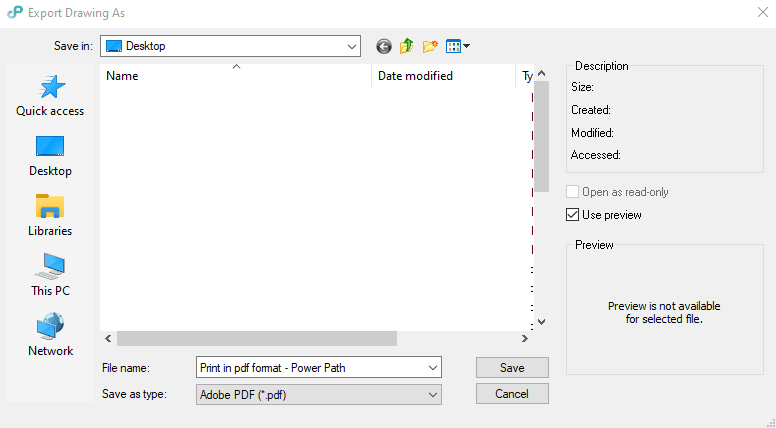
Go to the tab Output and choose command Export PDF…

Save .pdf file on your computer.
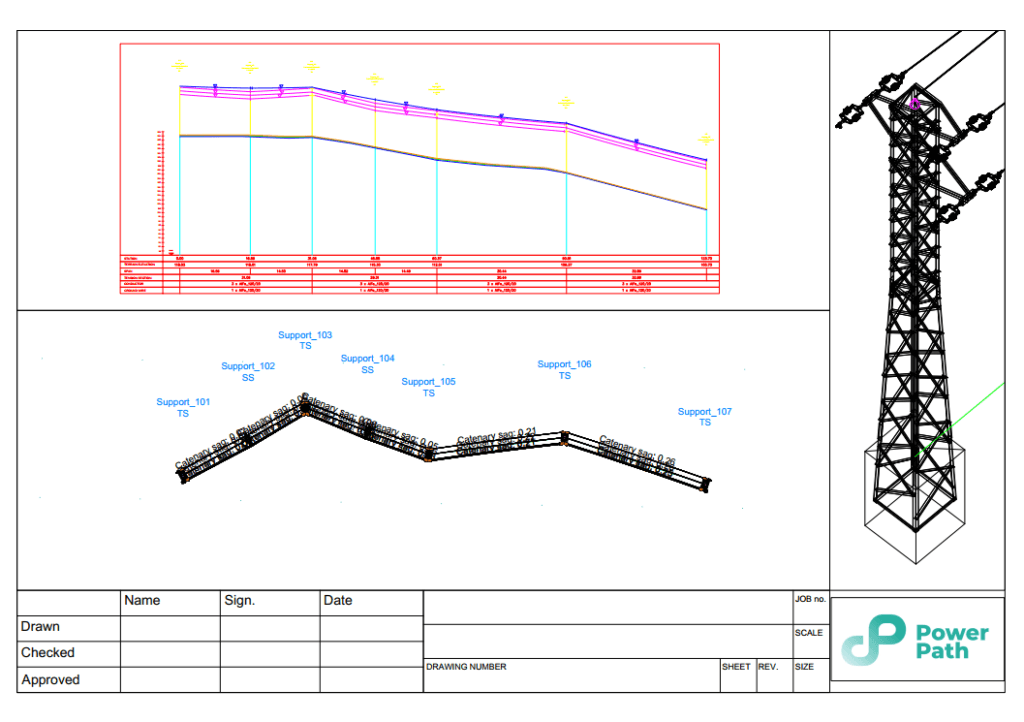
This is how our exported .pdf file looks:
Feel free to try a 30-day free trial of Power Path and find out does Power Path fits your needs!

