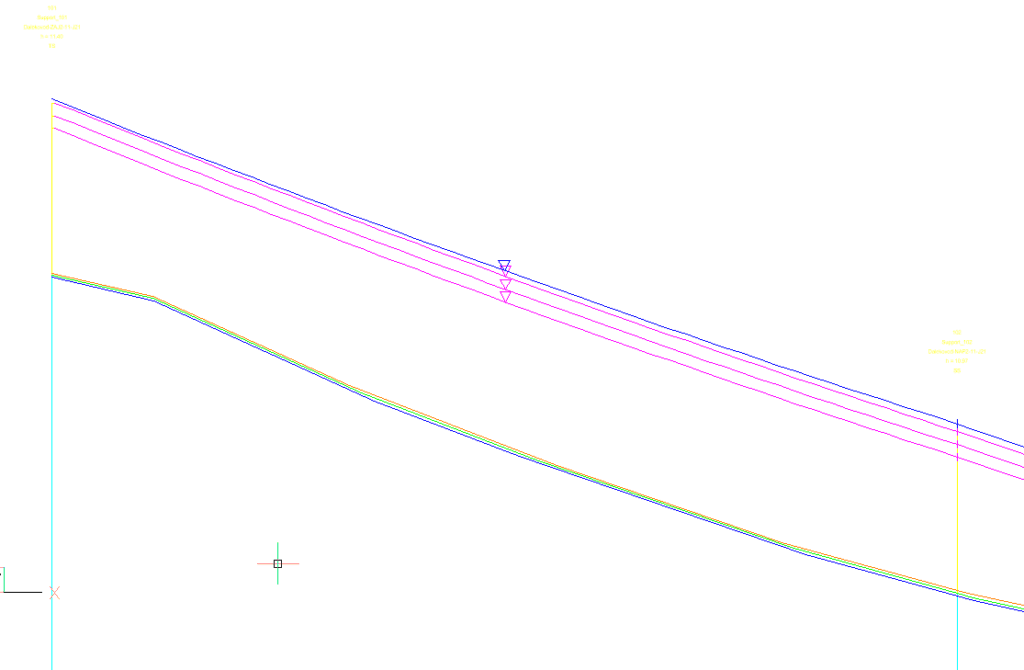
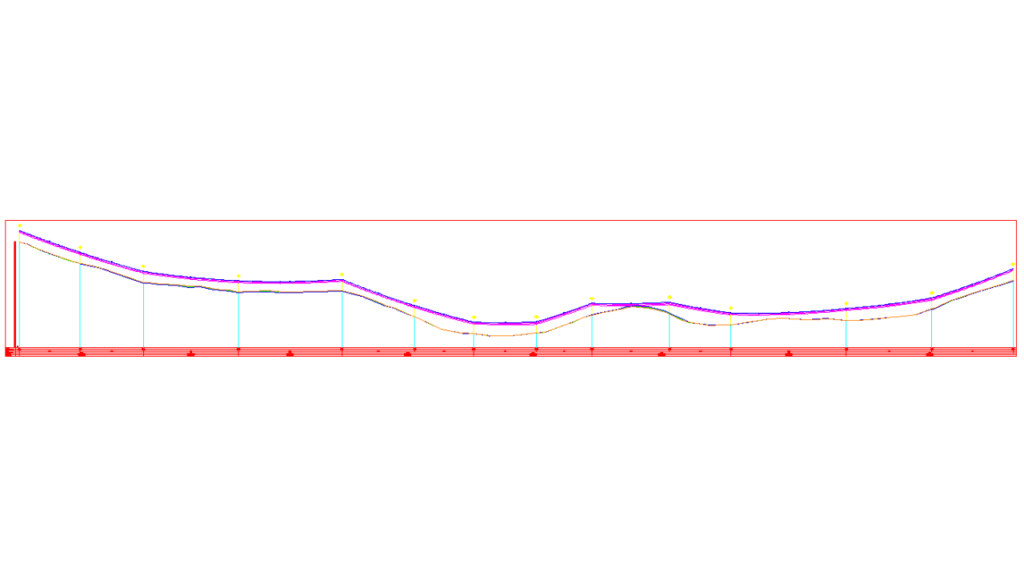
After creating a power line in 2D and 3D with all power line elements (alignment, supports, insulators, conductors, and ground wires), the next step in the power line project is creating a profile view.
1. Define elements of the profile view
Click on the icon Create Power Line Profile and then click on your power line.

Create Power Line Profile dialog will appear. There are several tabs in the dialog, where you can define elements of the profile – name, input data, scale, offset terrain, rubrics and additional annotations.
2. Insert profile view
After defining elements of the profile view, you can click anywhere on the drawing to insert the profile.

This is how profile view looks like:


3. Refresh profile view
If you had some changes on your power line alignment after creating your power line profile, just click on the icon Refresh Profiles and the profile will the updated.

Learn how to create and refresh your profile view in Power Path in Lesson 4 of our free online course:
Visit page Learn for more free lessons and for payable courses visit the page Buy .
Feel free to try a 30-day free trial of Power Path and find out does Power Path fits your needs!

