Power Path users have the possibility to customize software interface and change default units.
How to customize software interface?
When you open Power Path you will see:
1. Menu bar
2. Toolbars with shortcuts for saving drawing, opening a new one, etc.
3. Ribbon with tools for power line design
4. Project explorer side panel
5. Workspace – paper
6. Side toolbar that contains properties, layers, etc.
7. Command line
8. Status bar
You can customize your interface by turning on/off visibility or moving some menus, toolbars, panels, etc.
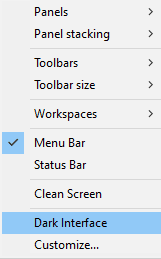
Right click on the empty area of the software interface and drop-down menu will appear:
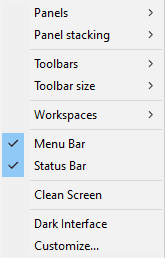
Now you can see all the possibilities to customize your interface. In this example, we will add a new panel and toolbar, change our workspace from Drafting to Modeling, turn off the visibility of the status bar and switch to the dark interface.
Click on the Panels from the drop-down menu and choose which panel you want to add.
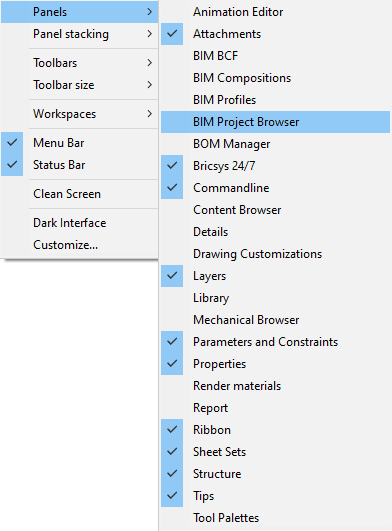
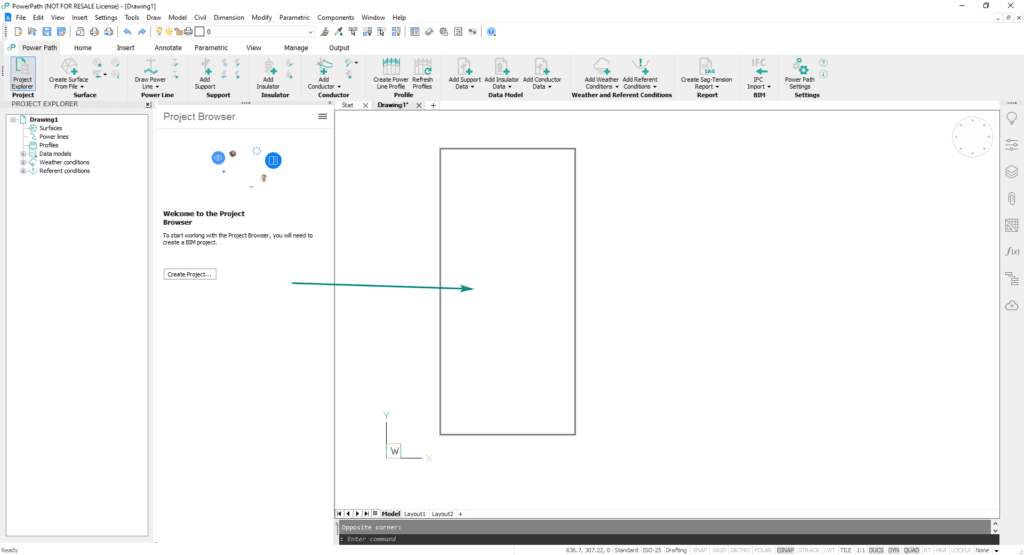
We chose BIM Project Browser. The panel will appear on the left side, but you can drag it anywhere.
Close the panel by clicking on the x.
Adding a toolbar process is the same as adding a new panel; in this case, you need to choose Toolbars from the drop-down menu and which toolbar you want to add. We added the Arcs toolbar.
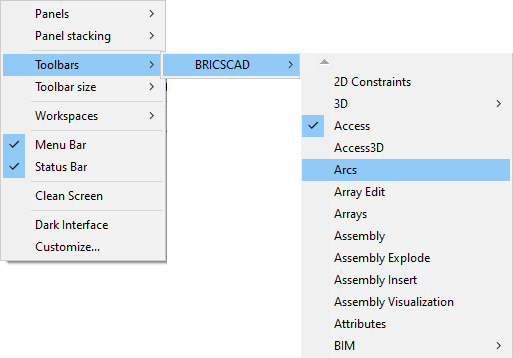
You can also drag toolbar anywhere you want.

Delete your toolbar by clicking on the x or disable it in the drop-down menu.
As we mentioned before, Power Path is not only a CAD/BIM software solution for power line design but also contains all functionalities for 2D drafting and 3D BIM modeling. More about that read in our blog post: What is Power Path?
The default workspace is always Drafting, but you can switch to 3D modeling by choosing Modeling from the drop-down menu. Also, on the status bar, you can right-click on Drafting and choose Modeling.
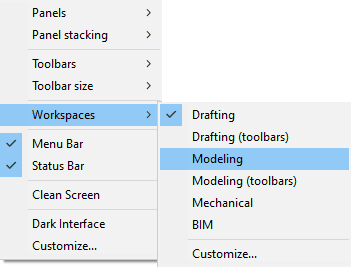
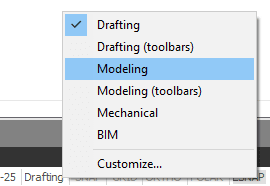
Now we are going to turn off the visibility of the status bar. Just uncheck the Status bar from the drop-down menu.
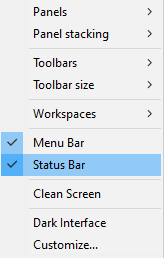

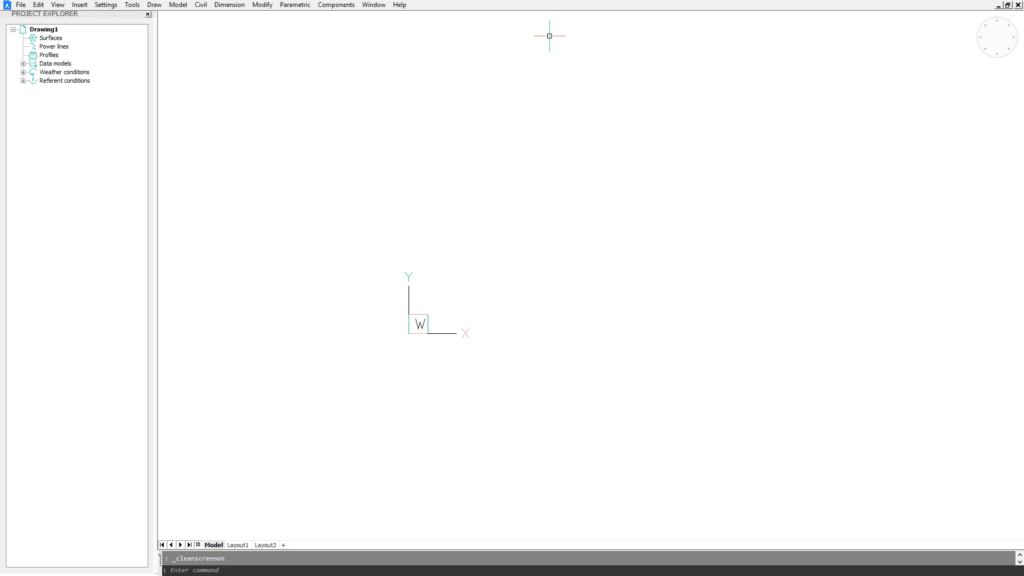
Tip: If you want to have a clear screen when you are drawing, click on the option Clean Screen from the drop-down menu, or use the shortcut CTRL + 0. Your interface will now look like this:
Now we are going to customize the colors of our interface. Power Path has a light and dark interface. You can switch to a dark interface by choosing Dark Interface in the drop-down menu, or go to Settings – Program Options – System – UI color theme, or type COLORTHEME into the command bar. [0] is dark [1] is light.

You can also change only the color of your paper. Go to Settings – Program Options – Display – Background color, and choose a color.
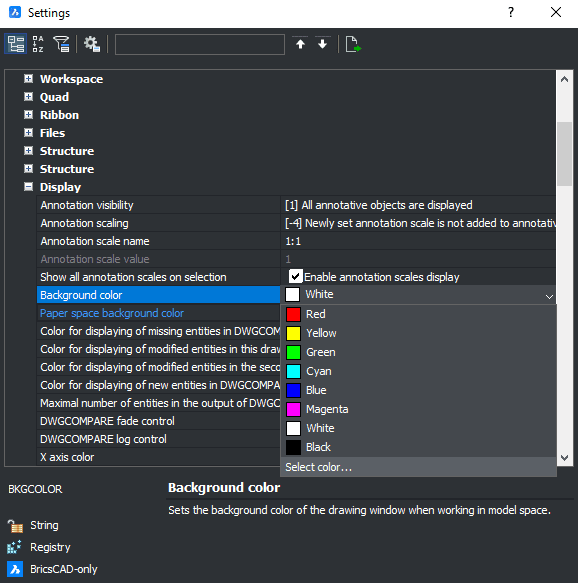
We chose black background color. Interface now looks like this:
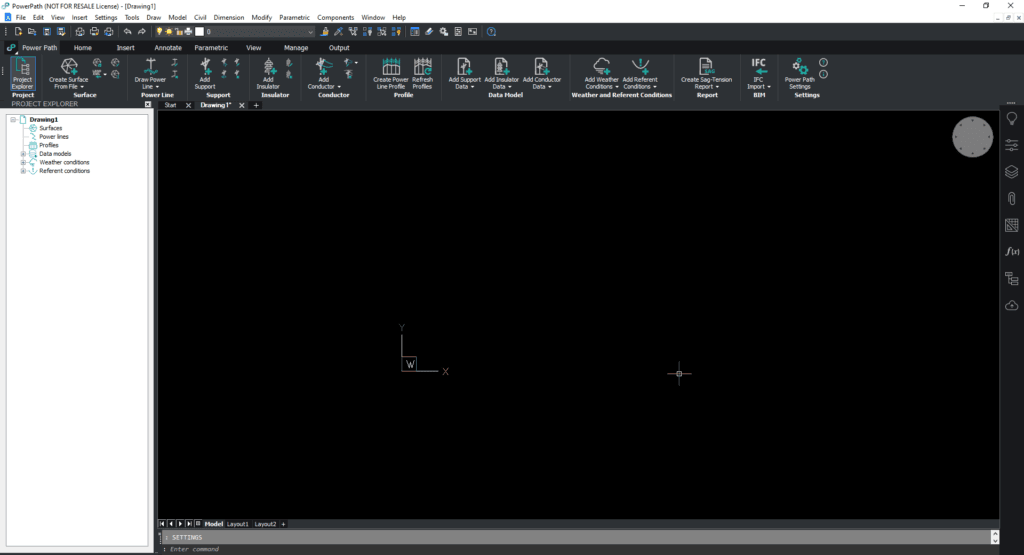
You can also customize some power line design interface options. Click on the icon Power Path Settings.

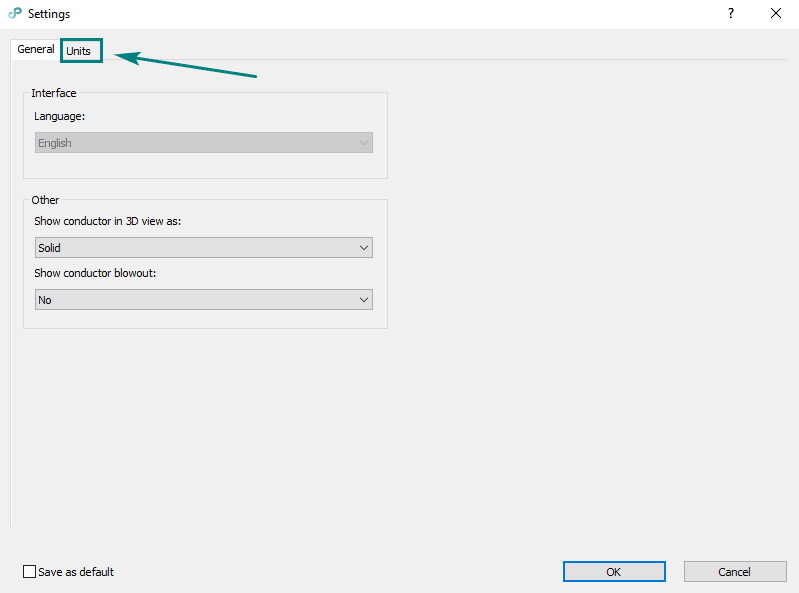
In the tab General, you can change the language in the software. For now (in version V21), there is only English.
You can choose how to show conductors in 3D view – as solid models or as polylines.
Also, you can choose do you want to show conductor blowout in the alignment or not.
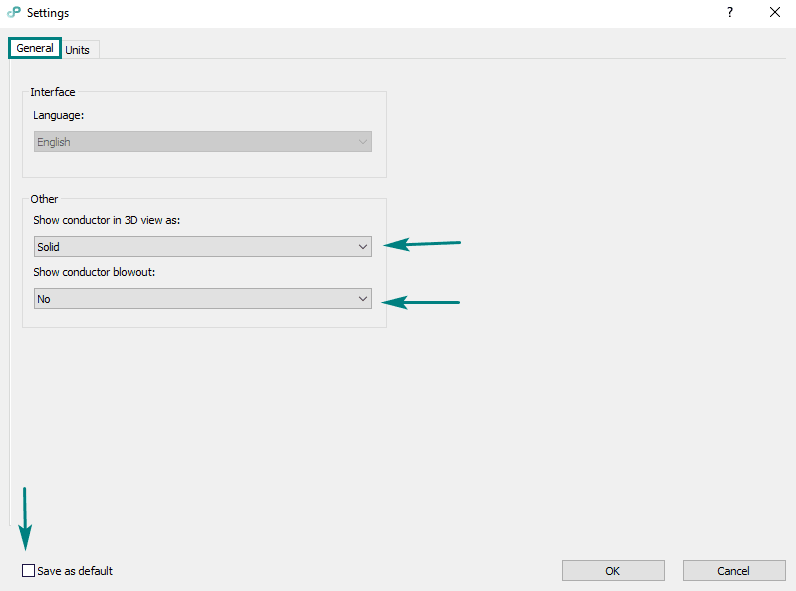
If you want to save your changes, check the Save as default checkbox.
How to change units?
On the Setting panel click on the icon Power Path Settings.

Settings dialog will open. Click on the tab Units.
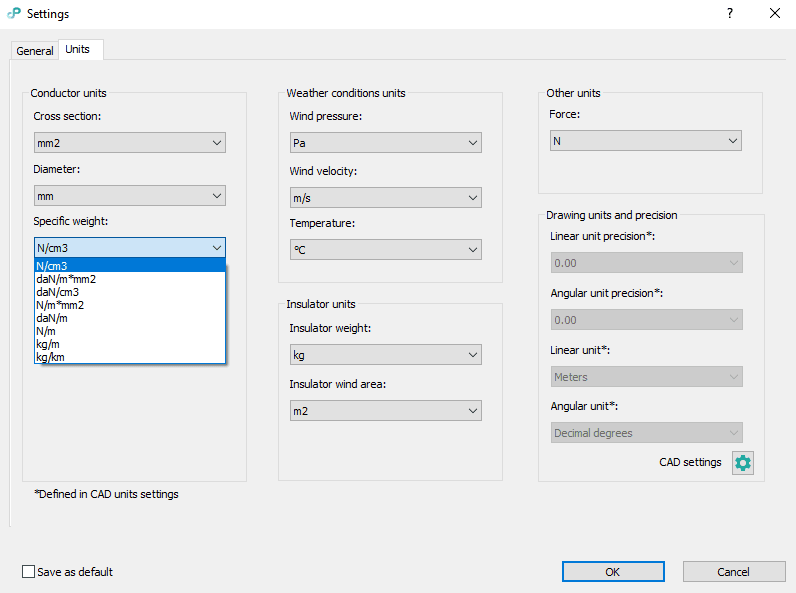
You can change conductor units, weather condition units, insulator units and some other.
Click on the unit which you want to change and pick another unit from the drop down menu.
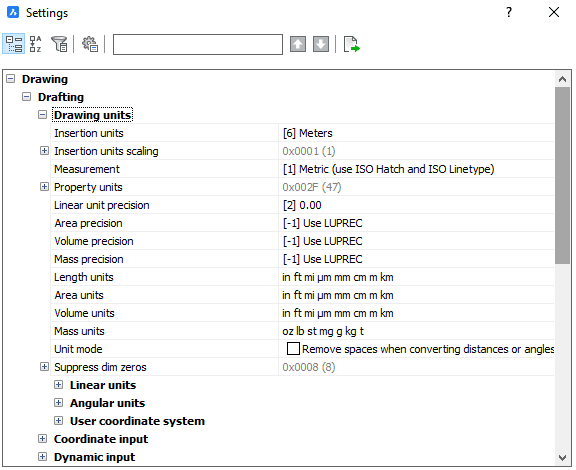
You can also change drawing units by clicking on the button CAD settings.
When you are done with changing units, if you want to make them as default, check the left bottom checkbox Save as default.
If you want immediately to start creating your own OHL project with the BIM approach, import your data, and use the solution for any 2D drafting and 3D modeling in technical projects, try a 30 days trial of Power Path.
